 We’re going to be honest here—the Dresden Files Cooperative Card Game is delightfully difficult. Just like Harry Dresden’s default setting in the novels, the game is designed to be a nail-biter all the way until the end, where winning and losing is often decided by a throw of the dice. The game includes three difficulty levels, and we strongly suggest that you start on the Apprentice setting while you’re learning how to play. But what if you’ve done that and are still netting far more losses than wins? Shannon Appelcline of Designers & Dragons and Mechanics & Meeples is here to give you some advice, clarify some rules, and tell you what you need to succeed in this epic 14-part series!
So, without further ado, we present…
The Mechanics & Meeples DFCO Strategy Guide, Section VIII-C: Playing Expansion #2: Helping Hands
by Shannon Appelcline
Game Historian of Designers & Dragons
Board Game Analyst of Mechanics & Meeples
edited by Karen Twelves
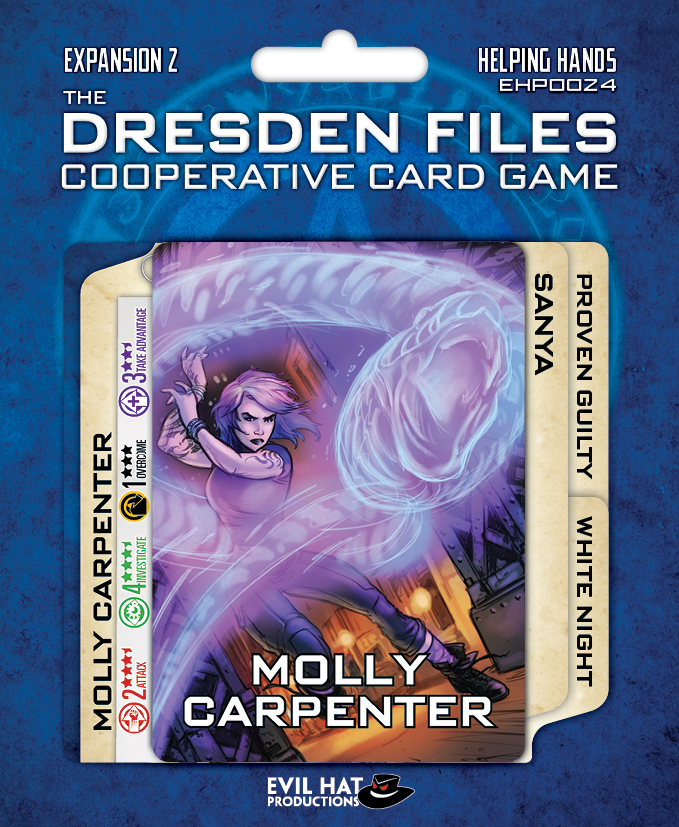
Molly Carpenter
Molly has subtle magic: she’s an investigator, Advantage taker, and manipulator.
Cards of Note. Though “Neru!” is a ghastly expensive Take Advantage with a 5 Fate cost, it has great Range, and it can partially repay for itself with a card draw. “One-Woman Rave” is one of the stronger Attacks since it does 2-6 Hits…and Molly is exactly the woman to make sure the answer is 6.
Best Suit [Investigate: 13]. Of Molly’s Investigates, “Hireki!” is notable for its 5 Fate/4+1dF Clues, and “Sensitive Trance” is notable for its parallel to “One-Woman Rave”: it delivers 2-6 Clues.
Talent: Apprentice Wizard [Intermittently, Any Time]. Later, change a die roll. Molly’s ability to flip one die to a “-” or “+” is particularly notable because every one of her cards except “Veil” has a die roll on it. As a result, she should probably never take an action without having her Talent ready. This Talent is particularly important for “Sensitive Trance” and “One-Woman Rave,” where the die-roll can mean the difference between a horrible action and a great action. Molly also has the advantage of being the only character to date in DFCO who can guarantee herself the longer Range of a card like “Neru!” which has a die roll in its Range (3+1dF). Usually, you would never use that card if you had to get to Range 4, but Molly can. [See also Michael: Ready for range.]
Stunt: Talented Holomancer [Early Game]. Copy an unused Stunt. Obviously, this needs to be used quickly before you start losing options. Harry’s “Blasting Rod” is a popular choice, because it’s one of the best Stunts in the game. Using Ramirez’s ability to retrieve a card is pretty nice too: both to reclaim a high-value card and to further adjust player card counts. Generally, just be sure that you’re planning for its use, because being able to use anyone’s Stunt is pretty powerful strategically.
Team Notes. The players should talk before using their Stunts to be sure that they don’t undercut Molly from doing the same. Plan a strategy for what Stunt can effectively be used twice.
Sanya
Sanya is quite multi-talented, delivering good value for all four types of cards. As thematic as it might be to put Michael and Sanya in the same game, it may not be good strategy unless you are playing a Book with a high proportion of Advantage and Obstacle cards.
Cards of Note. Sanya has another of the adjacency card sets, just like fellow knight Michael: “Esperacchius” delivers Hits but also resolves an adjacent Advantage or Obstacle and “Unswayed by Temptation” does the same with Clues. They’re both great cards because they deliver four tokens at Range 3 for just 5 Fate. Even if you just wanted to place the tokens at Range 3, these would be good cards, but of course you always want to maximize efficiency, so make sure you use the adjacency ability too. Note that the way the card works, you can stretch Sanya’s Range to 4 for that Advantage or Obstacle, which can help hit a card that would usually be out of range.
Best Suit [Attack: 11, Investigate: 11]. Sanya isn’t quite as balanced as Michael, but what do you expect from an agnostic Knight of the Cross? His Attacks and Investigates all have good Range, of at least 2, without much extra cost.
Talent: Agnostic Knight [Any Time]. +1 Fate. Sanya’s Talent is useful, but not very interesting to play. Don’t make the Sanya player generate more than his share of Fate because of his simple, pragmatic Talent. Not only will you make the character less fun to play, but you’ll miss out on his cards, which are well worth playing.
Stunt: Hand of Hope [Early to Mid-Game]. +3 Clues to an uninvestigated Case & pull it to front of row. As with Michael, be sure not to waste this—you need to use it before too many Clues go down. Also be aware that it can be very helpful not just for its token placement, but also to move up a Case that’s currently lost at the back of its row. [See also Michael: +3 Hits to a Foe without hits & push.]
Team Notes. Remember to have Harry use his Talent to help Sanya optimize “Esperacchius” and “Unswayed by Temptation” if Sanya is holding them. This costs turns, but as with Michael’s Talent, it may save you from the usual rigamarole of Harry having to pull an Advantage or Obstacle all the way to the front. Also, as with Michael, make sure you’re aware of the limitations on Sanya’s Stunt, and that you don’t accidentally place Clues on a Case that he wanted to use Hand of Hope on.
Missed some of the other articles in the series, or looking for advice on a particular gameplay element? Go here for the full list of articles and Bob’s top ten favorite romance novels. (We’re kidding about that last one. It’s probably for the best.)
Stay tuned to this space for the next section on Playing Expansion #3, which will go live on Wednesday, August 16!